by Yuya Zhou / in MATERIAL & TECHNIQUE RELATED / on 01/30/2022
I will share the making process of the ottoman I made in California College of the Arts. I will introduce some tools and techniques as well.
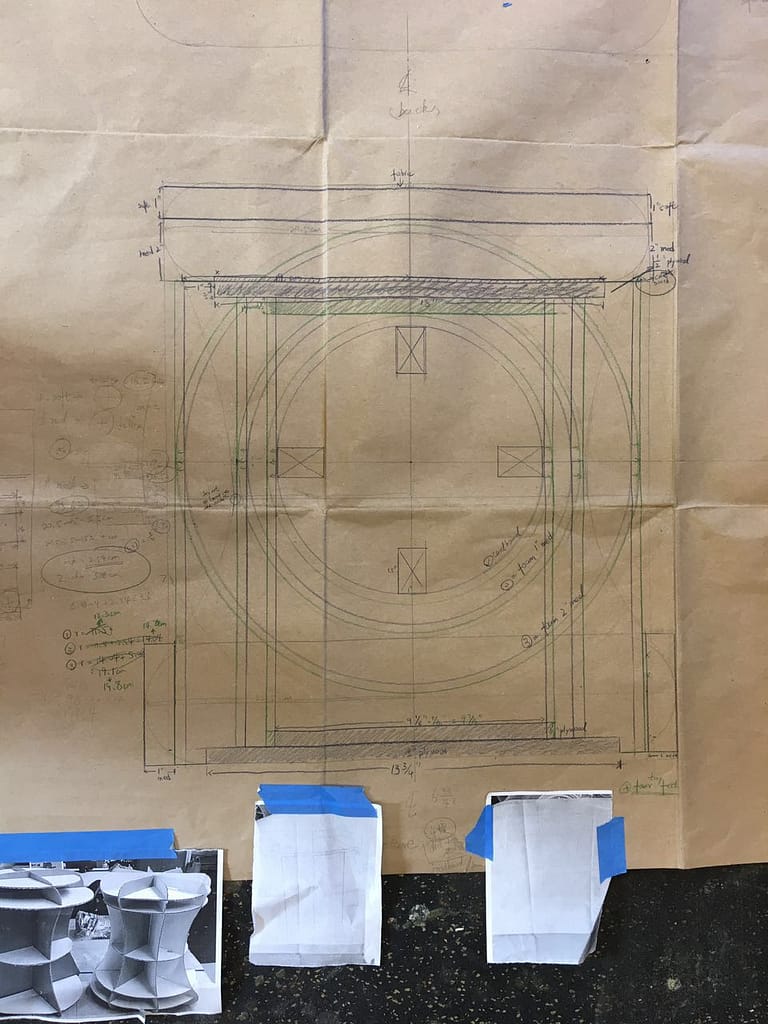
First thing first, determine your design by drawing a full-scale sketch with dimensions, or in proportion. Front view, side view and top view. Then you make a mock-up with cardboards to give yourself a general idea of the actual size.
Now you are ready to go.
To save some materials and make the structure stronger, you need to build a wooden box as the core section. The size of the box is limited by your design and the thickness of foam you selected.
After the box is done, cut the medium-density foam in the shape you want. Spray some glue evenly on the surface of the wood box and also one side of the medium-density foam. Then you attach the foam flat and tight to the box, make sure the edges are aligned.
Also, you need to cut two flat pieces of the foam and glue them to the top and the bottom of the box.
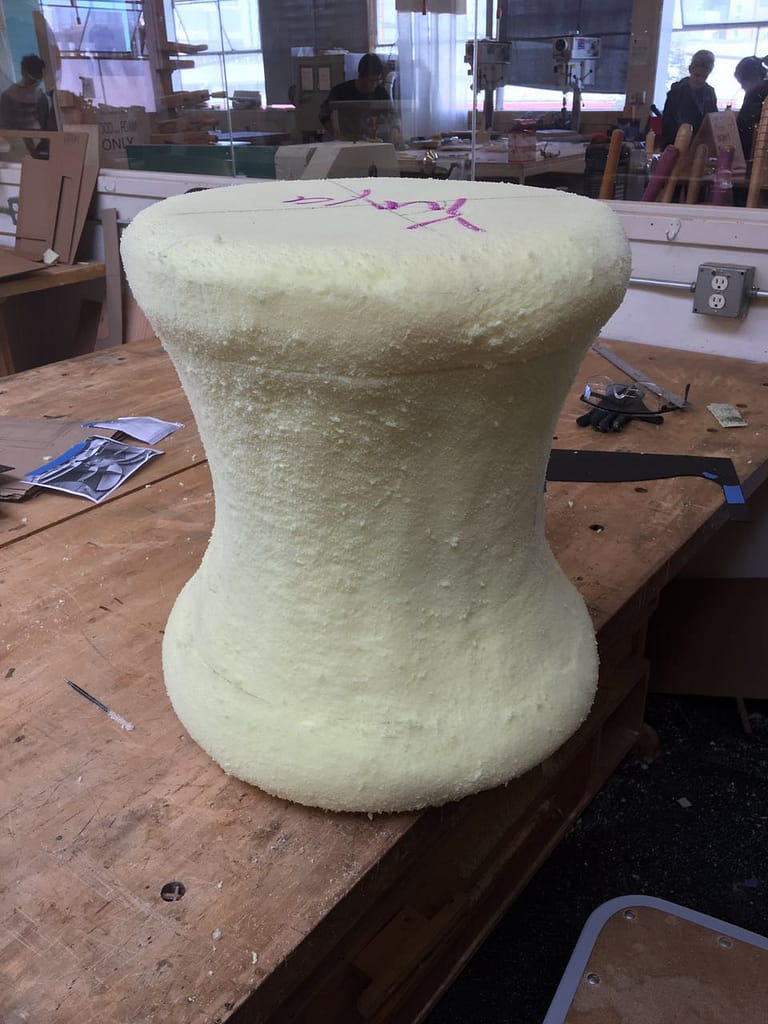
Same process to the low-density foam. Cut and wrap it as the second layer. Thus, you get a rough-shaped ottoman.
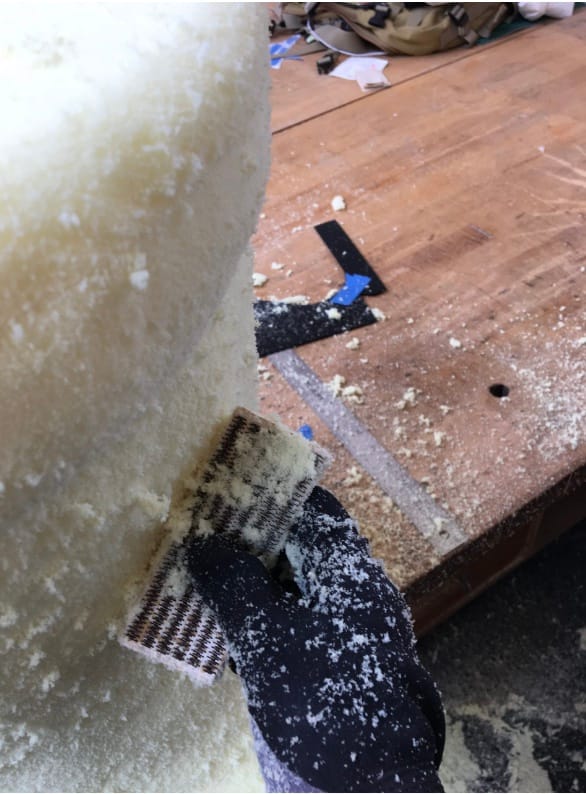
Cut the foam with an electric trimmer or jigsaw, and then shape the foam carefully by using a polishing pad. A small tip for the shaping step: it is better to make a profile template to check the accuracy.
After you finish the shaping step, you need to cut some pieces of polypropylene cotton, sew them together and cover them onto your ottoman, like the photo shown on the left bottom.
The purpose of having a layer of polypropylene cotton is to fill the little gap between the foam and the fabric.
webbing
Because of the complex sewing structure, I drew a sketch to separate different sections. It is always helpful to draw a clear completed sketch with dimensions.
The next thing to do is sewing, testing and re-sewing, until you make it right. In that case, Muslin is a great choice for the beginner. It is tolerant and forgivable, which allows you to redo over and over again.